

This layered taco dip with cream cheese is the ultimate party food you’ll make again and again. It’s a classic Tex-Mex appetizer that brings everyone together around the chip bowl with its irresistible creamy base and fresh, crunchy toppings. My version builds on the familiar flavor you love but ensures every layer, from the seasoned cream cheese to the bubbly cheese, is perfectly balanced. It’s the kind of easy, crowd-pleasing dish that disappears fast at any gathering.
Why You'll Love This Recipe
- The creamy, seasoned base is absolutely addictive
- Customize the heat and toppings to your crowd’s taste
- It looks impressive but comes together with minimal effort
- Fresh toppings add a perfect crisp contrast to the warm layers
- This taco dip with cream cheese is always the first thing gone
Ingredients You’ll Need
- Cream cheese, softened: This is the star of the creamy layer and needs to be at room temperature for a perfectly smooth, lump-free mixture that spreads easily.
- Sour cream: Adds a welcome tang and helps loosen the cream cheese for a silky, spreadable consistency.
- Taco seasoning mix: Your flavor powerhouse, it delivers all the classic Tex-Mex spices in one convenient packet for maximum impact.
- Vegetarian refried beans: Creates a hearty, savory foundation and helps anchor all the delicious layers above it.
- Medium salsa, drained: Provides a bright, juicy layer of tomato and chili flavor; draining it keeps your dip from getting soggy.
- Shredded Mexican blend cheese: Melts into a gorgeous, gooey blanket that holds everything together and tastes fantastic.
- Shredded iceberg lettuce: Adds the essential fresh, crisp texture you expect from a great taco dip with cream cheese.
- Large tomato, diced and seeds removed: Brings freshness and color; removing the seeds prevents excess water from wilting your dip.
- Sliced black olives: Offer a briny, salty note that cuts through the richness of the cheese and cream layers.
- Sliced jalapeños: An optional layer for those who love a spicy kick; pickled or fresh work wonderfully here.
- Chopped fresh cilantro: The final pop of herby freshness that makes all the flavors sing together.
How to Make It
Preheat and Prepare Your Dish:
Start by turning your oven to 350°F and giving your baking dish a quick coat of cooking spray. This simple step ensures your dip releases cleanly and makes cleanup a breeze later.
Blend the Creamy Base:
In a large bowl, beat the softened cream cheese with the sour cream and taco seasoning until it’s completely smooth. I use a hand mixer for this because it gets rid of any lumps fast and makes the texture dreamy.
Layer the Savory Foundation:
Spread the entire can of refried beans evenly across the bottom of your dish. This creates a sturdy, flavorful base that supports all the other components you’ll pile on top.
Seal with the Cream Cheese Mixture:
Carefully spread your smooth cream cheese blend over the bean layer, making sure to reach all the way to the edges. This seals in the beans and creates a delicious barrier for the next layer.
Add the Salsa and Cheese:
Spoon your drained salsa over the cream cheese and gently spread it out. Then, sprinkle all that shredded cheese evenly over the top, getting every corner covered for maximum melt.
Bake Until Bubbly and Golden:
Pop the dish in the oven for 20 to 25 minutes. You’ll know it’s ready when the cheese is fully melted, bubbling around the edges, and has a few light golden spots.
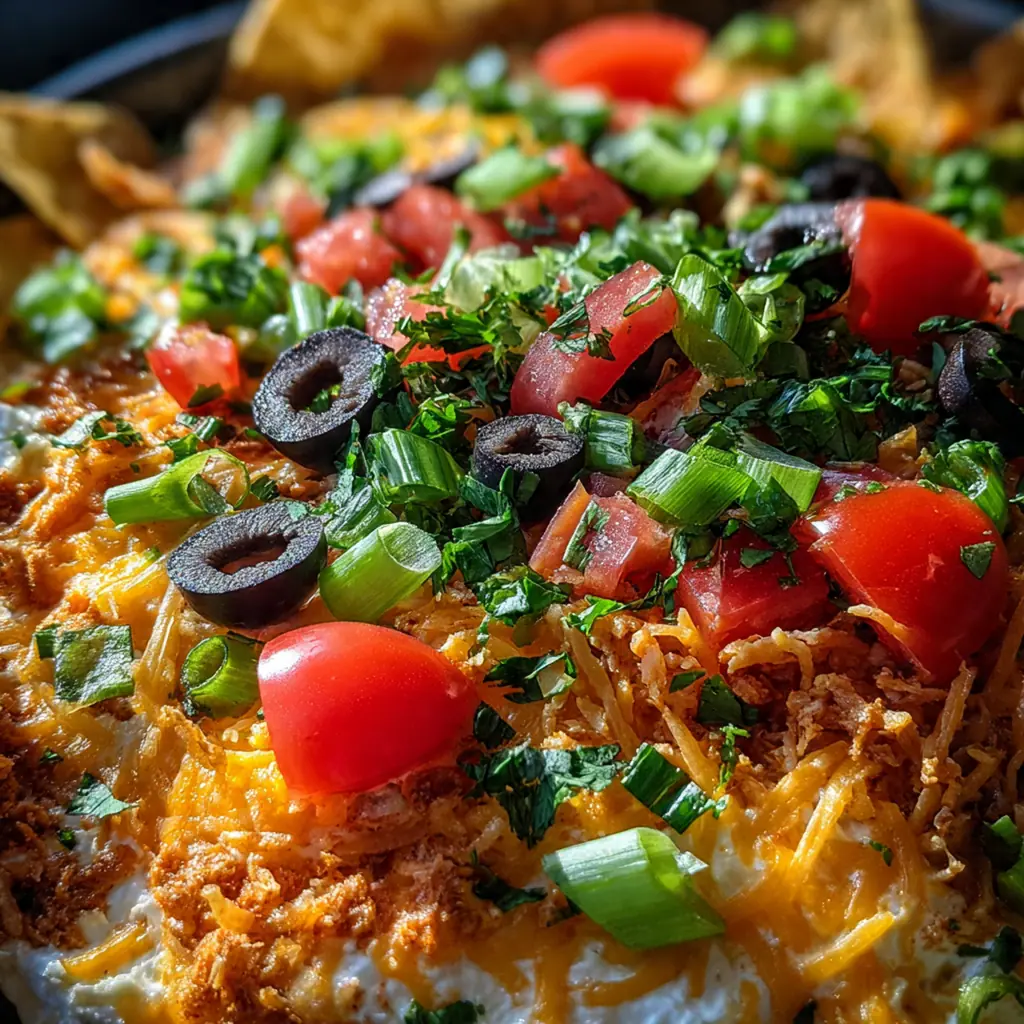
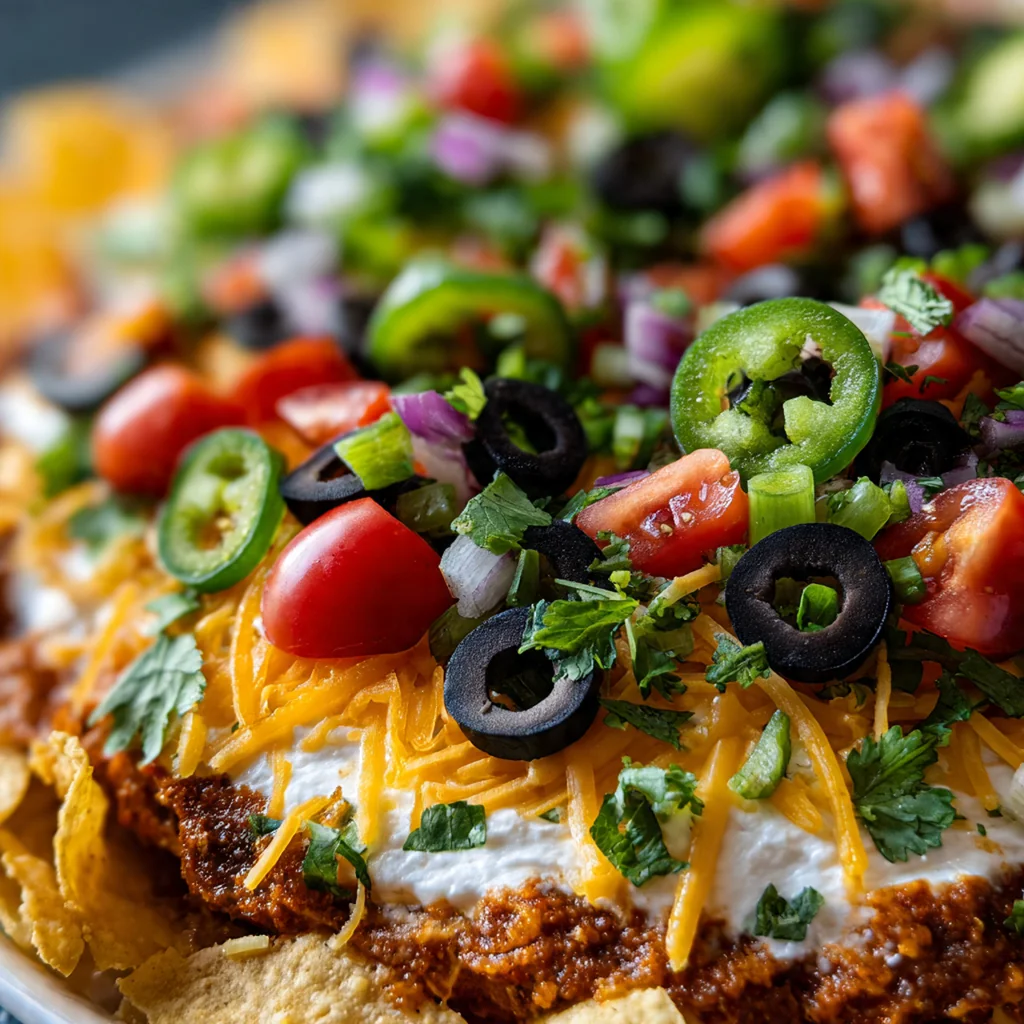
Cool Briefly and Add Fresh Toppings:
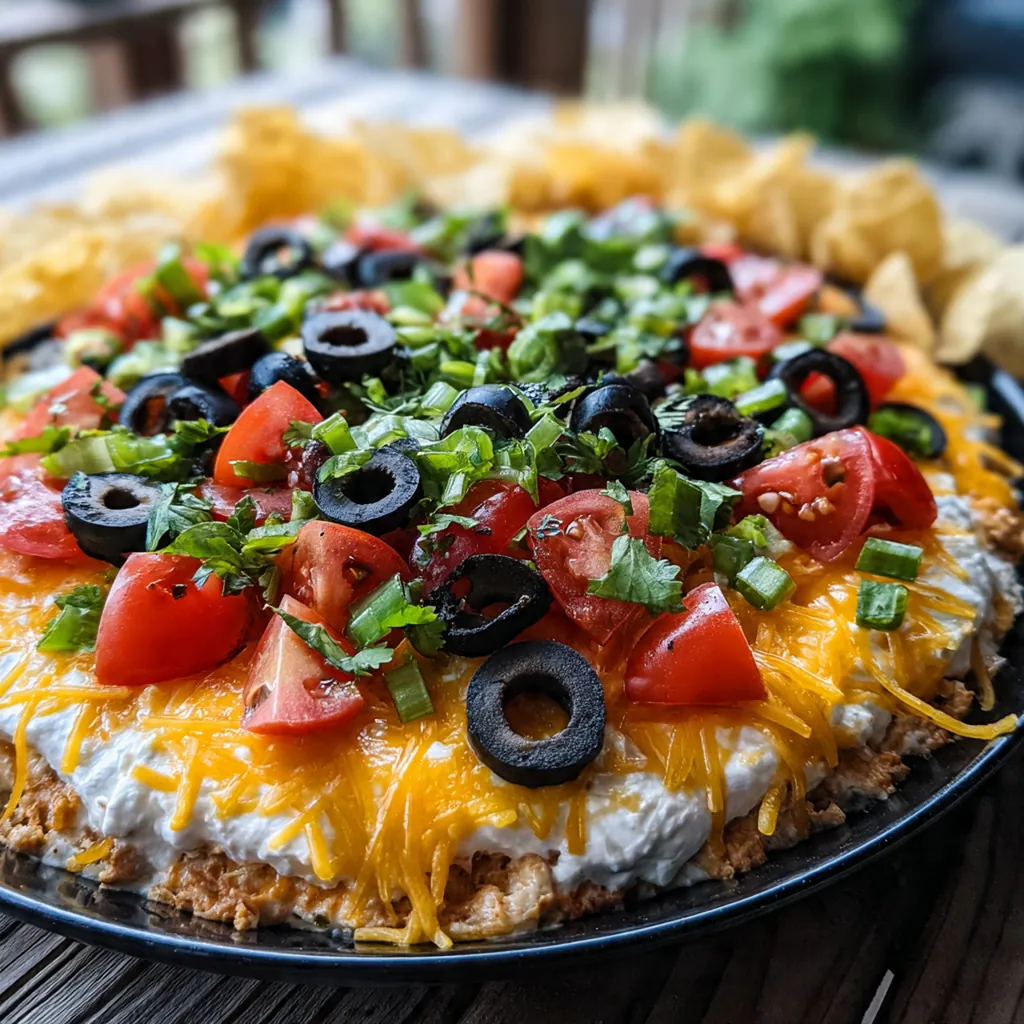
Let the baked dip cool on a rack for about 5 to 10 minutes so it sets up. Then, layer on the lettuce, tomato, olives, jalapeños, and cilantro in that order for the perfect finished look.
Serve and Dig Deep:
Grab your sturdiest tortilla chips and serve this taco dip with cream cheese right away. Encourage everyone to scoop deep to get a taste of every single glorious layer in one bite.
You Must Know
- Softened cream cheese is non-negotiable for a smooth base
- Drain that salsa to avoid a watery dip disaster
- The fresh toppings go on after baking for best texture
- It’s all about getting every layer in one scoop
Storage Tips
If you have any leftovers, store the baked base (without the fresh lettuce, tomato, and cilantro) in an airtight container in the fridge for up to three days. When you’re ready for more, reheat individual portions in the microwave or warm the whole thing back up in a 350°F oven until it’s heated through. Then, just add your fresh toppings again right before serving. I don’t recommend freezing this one, as the dairy can separate and the texture of the beans changes.
Ingredient Substitutions
No Mexican blend cheese? A mix of cheddar and Monterey Jack works just as well. If you’re out of refried beans, mashed pinto or black beans can stand in, though the texture will be a bit different. For a kick, swap the jarred jalapeños for fresh ones, but remember to remove the seeds if you want less heat. If cilantro isn’t your thing, fresh chopped green onions make a fantastic garnish instead. To make it gluten-free, just double-check your taco seasoning and salsa labels to ensure they’re certified.
Serving Suggestions
You absolutely need sturdy tortilla chips for this job – the thick, restaurant-style ones hold up best to the dense, layered dip. For a fun twist, set out bowls of additional toppings like diced avocado, extra salsa, and a squeeze of lime juice so guests can customize their scoop. This dip also makes a fantastic spread for loaded nachos or even as a hearty side for your next taco night. I sometimes serve it with crisp veggie sticks like bell peppers and jicama for a lighter option that still packs all the flavor.
Cultural Context
This layered taco dip with cream cheese is a staple of American potluck and party culture, a true Tex-Mex fusion born from the love of nachos and seven-layer dip. It takes the communal, build-your-own spirit of taco night and turns it into a shareable, scoopable centerpiece perfect for feeding a crowd. While you might not find this exact creation in Mexico, its heart is in those familiar flavors – the beans, the fresh salsa, the cheese, and the cooling crunch of lettuce – all coming together in one unforgettable dish. It’s a celebration of big flavors meant for sharing with friends.
Pro Tips
- Let your cream cheese soften fully on the counter
- Drain the salsa by tipping the can slightly
- Broil at the end for an extra crispy cheese top
- Add fresh toppings just before serving for maximum crunch
- I always make a double batch because it goes so fast
Frequently Asked Questions
Yes, you can use low-fat or Neufchâtel cream cheese, but the dip may be slightly less rich and creamy. Full-fat cream cheese provides the best texture and helps the dip hold its shape when scooped with chips.
Absolutely. You can assemble the creamy base, bean, and cheese layers up to 24 hours ahead. Cover and refrigerate, then bake just before serving. Add the fresh lettuce, tomato, and cilantro toppings right before you serve to keep them crisp.
For a different texture, you can mash a can of black beans or pinto beans. For a meatier version, use a layer of seasoned, cooked ground beef or turkey. For a smoother layer, you can also blend the beans before spreading.
The dip is ready when the cheese on top is fully melted and bubbly, and the edges are lightly golden. This typically takes 20-25 minutes in a 350°F (175°C) oven. Let it cool for 5-10 minutes before adding cold toppings.
Serve this creamy Tex-Mex dip with sturdy tortilla chips, bell pepper strips, cucumber rounds, or carrot sticks. It also makes a great topping for loaded nachos or a filling for soft tacos if you want to get creative.