

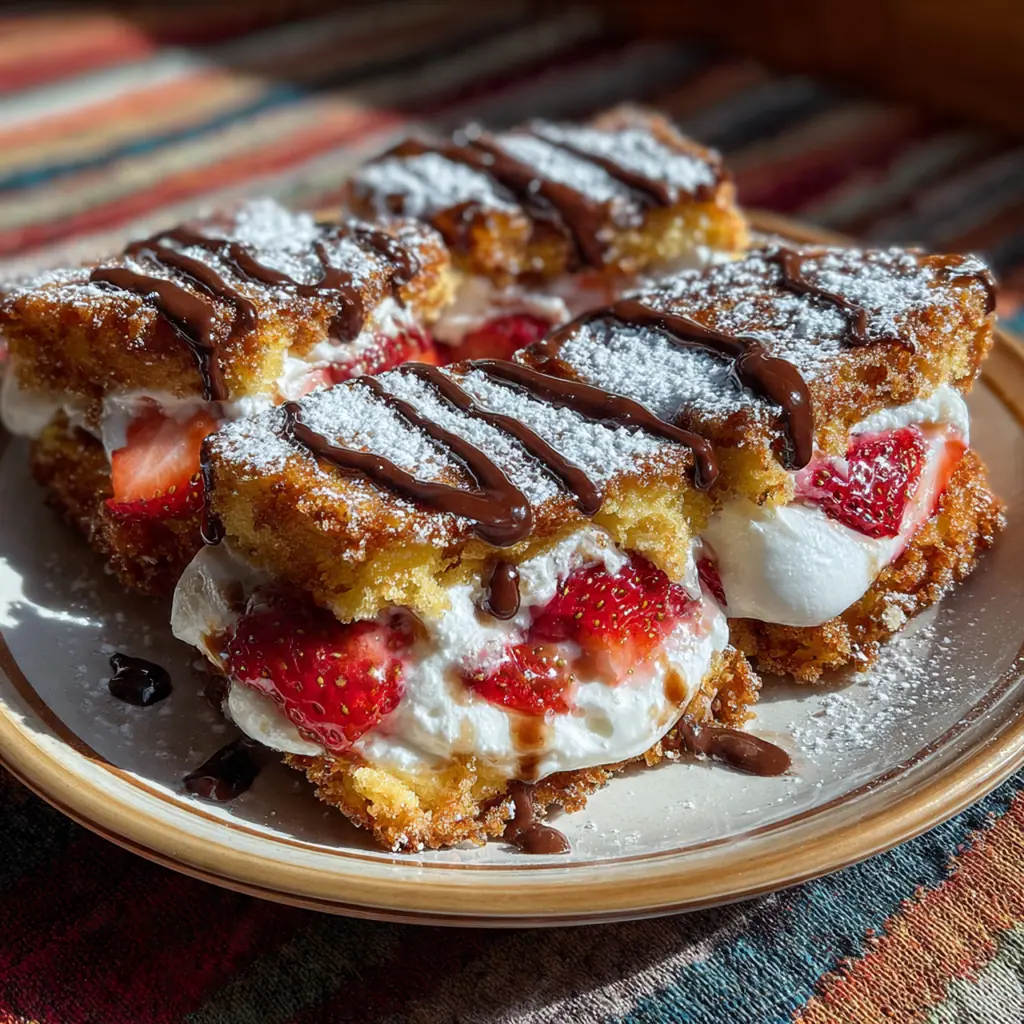
Fried Strawberry Cheesecake Sandwiches are a decadent handheld dessert that turns a classic into something fun and crispy. This American treat brings the creamy, tangy filling and fresh fruit of cheesecake into a golden fried package you can eat without a fork. It’s a perfect example of playful comfort food that feels fancy but comes together in just about thirty minutes. You’ll love how the warm, crispy shell gives way to that cool, creamy center.
Why You'll Love This Recipe
- The crispy outside and creamy, fruity inside create a perfect texture contrast
- They’re quick to make, ready in about 30 minutes from start to finish
- You can easily swap strawberries for other fruits like blueberries or peaches
- These sandwiches are a fun, handheld way to enjoy cheesecake flavors without baking
- My friends always ask for these when they come over
Ingredients You’ll Need
- Cream cheese, softened: this is the base of your creamy filling so let it sit out for 30 minutes soft cheese blends smoothly without any lumps.
- Granulated sugar: sweetens the cream cheese filling just enough to balance the tang without making it overly sweet.
- Vanilla extract: adds a warm, familiar bakery aroma that makes the cheesecake flavor pop use pure extract for the best taste.
- Fresh strawberries: hulled and sliced for that bright, juicy fruit layer look for berries that are firm and deeply red.
- Lemon juice: a quick toss with the strawberries adds a bright flavor and helps prevent them from browning too fast.
- White bread or brioche: provides the structure for your sandwich slightly stale bread holds up better during dipping and frying.
- Large eggs: beaten with milk to create the wet binder that helps the crispy coating stick perfectly.
- Milk: thins the egg wash slightly for a more even coating that doesn’t drown the bread.
- Graham cracker crumbs: this is your secret weapon for that classic cheesecake crust flavor and incredible crunch.
- Ground cinnamon (optional): a pinch adds a warm, bakery-style spice note that pairs beautifully with the strawberries.
- Vegetable oil: for frying choose an oil with a high smoke point like canola or peanut for best results.
- Powdered sugar: for that beautiful snowy dusting on top it melts into a thin glaze on the warm sandwiches.
- Fresh mint leaves (optional): a garnish that adds a pop of color and a fresh, aromatic finish to each plate.
How to Make It
Make the Cheesecake Filling:
In a medium bowl, beat the softened cream cheese with the sugar and vanilla until it’s completely smooth and creamy. I use a hand mixer on medium speed for about a minute, but a strong whisk works too if your cream cheese is properly softened. This creamy base is what makes the inside taste like real cheesecake, so don’t rush it.
Toss the Strawberries:
Grab a small bowl and toss your sliced strawberries with the lemon juice until they’re all lightly coated. This quick step isn’t just for looks—the acid brightens the berry flavor and keeps them from turning mushy or brown while you assemble everything else.
Assemble the Sandwiches:
Lay out four slices of bread and spread a generous layer of the cheesecake mixture on each, leaving a small border around the edges. Then, divide the strawberry slices evenly over the cheesecake layer. Top each with another slice of bread and press down gently to seal the edges, which helps prevent any leaks later.
Prepare the Dredging Stations:
In one shallow dish, whisk the eggs and milk together until they’re fully combined and uniform. In another dish, mix the graham cracker crumbs with cinnamon if you’re using it. Having these stations ready before you start dipping makes the whole process smoother and less messy.
Coat the Sandwiches:
Take one assembled sandwich and dip it fully into the egg wash, letting any excess drip back into the bowl. Then, immediately press it into the graham cracker crumbs, coating both sides evenly. I like to press gently to make sure the crumbs adhere well, then place it on a clean plate and repeat with the rest.
Heat the Oil:
Pour about half an inch of vegetable oil into a large, heavy-bottomed skillet and place it over medium heat. You want the oil to reach 350°F, so use a candy thermometer here—it’s the key to getting a crispy, not greasy, finish. This usually takes about five minutes.
Fry to Golden Brown:
Carefully lower one or two sandwiches into the hot oil, being mindful not to overcrowd the pan. Fry for about two to three minutes per side until they’re a deep, golden brown and beautifully crisp. Adjust the heat as needed to keep the oil right around that 350°F mark for even cooking.
Drain and Garnish:
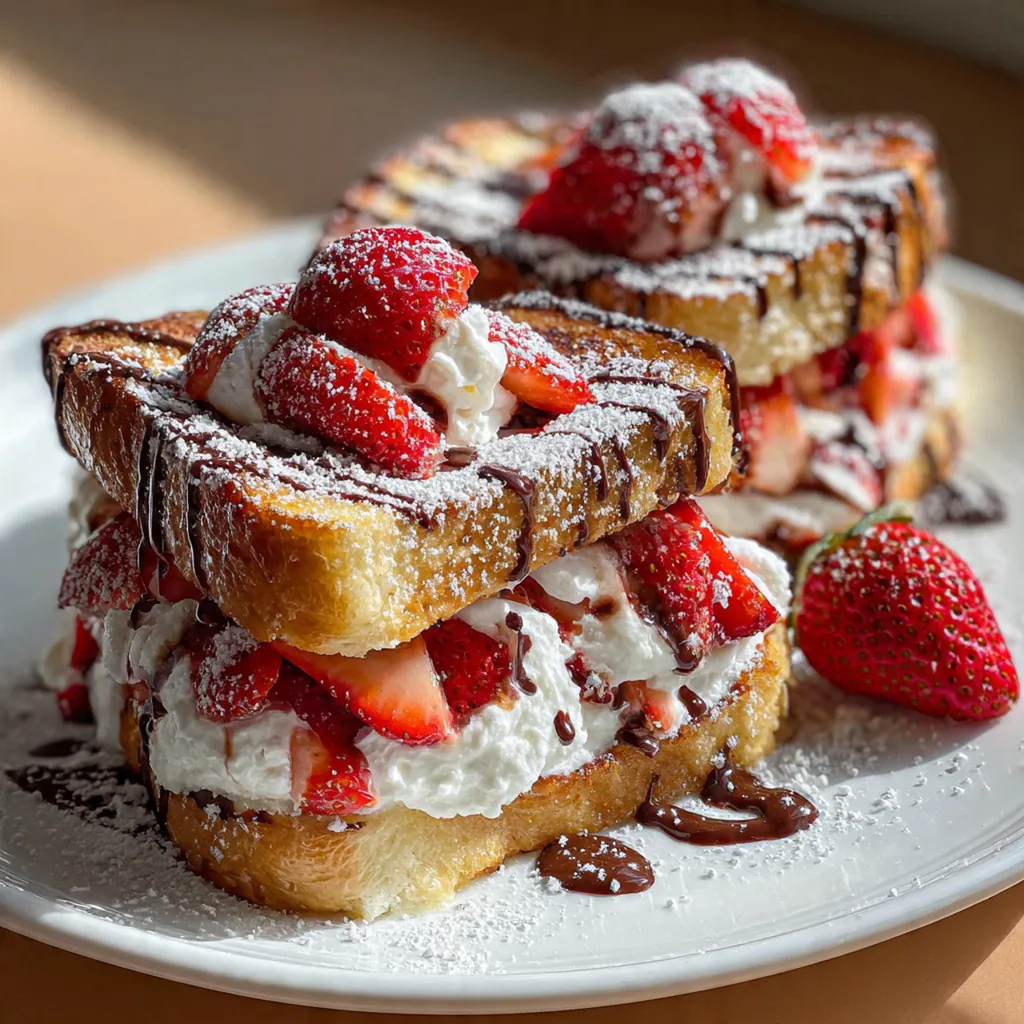
Use a slotted spatula to transfer the fried sandwiches to a plate lined with paper towels to drain any excess oil. Let them sit for just a minute, then dust generously with powdered sugar and add a mint leaf or two if you like. They’re best served warm when that crispy shell is at its peak.
Serve Immediately:
Plate your Fried Strawberry Cheesecake Sandwiches right away while they’re still warm and the filling is soft. That contrast between the hot, crunchy exterior and the cool, creamy center is what makes this dessert so special and impossible to resist.
You Must Know
- Softened cream cheese is non-negotiable for a smooth filling
- Keep your frying oil at a steady 350°F
- Don’t overfill the sandwiches or they’ll leak
- I always use a thermometer for perfect frying
Storage Tips
These Fried Strawberry Cheesecake Sandwiches are absolutely best enjoyed fresh and warm, right after you fry them. If you do have leftovers, let them cool completely and then store them in an airtight container in the fridge for up to two days. To reheat, skip the microwave—it’ll turn the crispy coating soggy—and instead use a toaster oven or conventional oven at 350°F for five to ten minutes until they’re heated through and recrisped a bit. The filling might not be as perfectly creamy as day one, but it’s still a fantastic treat.
Ingredient Substitutions
If you’re out of fresh strawberries, other berries like blueberries or raspberries work wonderfully, or even thinly sliced peaches when they’re in season. For the bread, brioche adds a lovely richness, but standard white sandwich bread, challah, or even thick-cut Texas toast will do the job just fine. If you don’t have graham crackers, you can use crushed vanilla wafers, digestive biscuits, or even plain panko breadcrumbs mixed with a little sugar and cinnamon. For a gluten-free version, simply use your favorite gluten-free bread and certified gluten-free graham cracker crumbs to keep everything celiac-friendly.
Serving Suggestions
I love serving these warm with just a snowy dusting of powdered sugar, but for a truly indulgent plate, add a scoop of vanilla ice cream or a dollop of freshly whipped cream on the side. Drizzling a little strawberry sauce or even a warm chocolate syrup over the top takes it to another level entirely. They pair beautifully with a cup of strong coffee to cut through the sweetness or a cold glass of milk for the ultimate nostalgic treat. For a brunch twist, serve them alongside fresh fruit salad to keep things a bit balanced.
Cultural Context
While the concept of fried desserts spans many cultures, from Italian zeppole to Mexican sopapillas, this recipe is a distinctly American mash-up, taking the beloved diner-style fried pie and filling it with the flavors of a classic New York cheesecake. The addition of graham cracker crumbs directly ties it to that iconic cheesecake crust invented in the early 1900s. It’s a fun, modern take on handheld pies, which have been a staple of American fairs and roadside stands for generations, celebrating our love for combining comforting, creamy fillings with a satisfyingly crispy, hot fried shell.

Pro Tips
- Use slightly stale bread for better structure during dipping
- Double-coat in egg and crumbs for extra crispiness
- Monitor your oil temperature closely with a thermometer
- Let the cream cheese soften fully before mixing
- I always fry in batches to avoid crowding the pan
Frequently Asked Questions
For the best texture, use thick-sliced white bread or brioche (about 1/2 inch thick). These hold the creamy filling well and create a sturdy base that turns golden and crispy when fried without becoming soggy.
You can prepare the filling and assemble the sandwiches a few hours ahead. Keep them covered in the fridge until ready to coat and fry. For best results, fry them just before serving to ensure the crust stays perfectly crispy.
You can use other fresh berries like raspberries or blueberries, or a high-quality strawberry jam. If using jam, reduce the sugar in the cream cheese filling slightly to balance the sweetness.
Fry them in 350°F oil for 2-3 minutes per side. They’re done when the exterior is a deep, uniform golden brown and crispy. Let them drain on a paper towel-lined plate before dusting with powdered sugar.
Serve them warm, dusted with powdered sugar. They’re fantastic on their own, but a scoop of vanilla ice cream or a drizzle of chocolate sauce makes them extra decadent. Garnish with fresh mint for a pop of color.