


This creamy protein pudding delivers exactly what its name promises: a protein pudding creamy delicious experience that feels like a cheat day treat. I started making this recipe on busy weeks when I craved something sweet but needed to hit my nutrition targets without derailing my day. It’s an American-style dessert that proves you don’t need complicated techniques or exotic ingredients to create something genuinely satisfying. The magic happens right on your stovetop in under 30 minutes, transforming simple pantry staples into a velvety, spoon-coating pudding that tastes incredibly indulgent while packing a serious protein punch.
Why You'll Love This Recipe
- You get 15-20 grams of protein per serving in a dessert that actually tastes decadent
- Everything you need is probably already in your pantry right now
- Ready in 25 minutes total from start to chilled perfection
- The silky texture completely satisfies those sweet cravings without any guilt
- Switch up flavors endlessly with different protein powder varieties
- I make this on Sundays for easy weeknight treats when I’m too tired to bake.
Ingredients You’ll Need
- Whole milk: Creates the creamy base with natural sweetness and fat content for richness, choose organic if possible for better flavor
- Chocolate protein powder: The star ingredient that delivers the protein boost and chocolate flavor, whey melts smoother but plant-based works great too
- Unsweetened cocoa powder: Adds deep chocolate complexity without extra sugar, look for Dutch-processed for a milder taste
- Granulated sugar or honey: Provides sweetness that balances the cocoa’s bitterness, reduce if your protein powder is already sweetened
- Cornstarch: The thickening agent that creates that signature pudding texture, make sure it’s fresh for best thickening power
- Vanilla extract: Brightens all the flavors and adds warm aromatic notes, pure extract beats imitation every time
- Salt: Just a tiny amount enhances the chocolate and balances sweetness, I use fine sea salt for even distribution
- Unsalted butter: Adds silkiness and richness to the finished pudding, letting you control the overall salt level
- Heavy cream: Stirred in at the end for ultimate creaminess and body, for dairy-free use full-fat coconut cream instead
- Optional whipped cream: A fluffy cloud on top makes it feel like a special occasion dessert
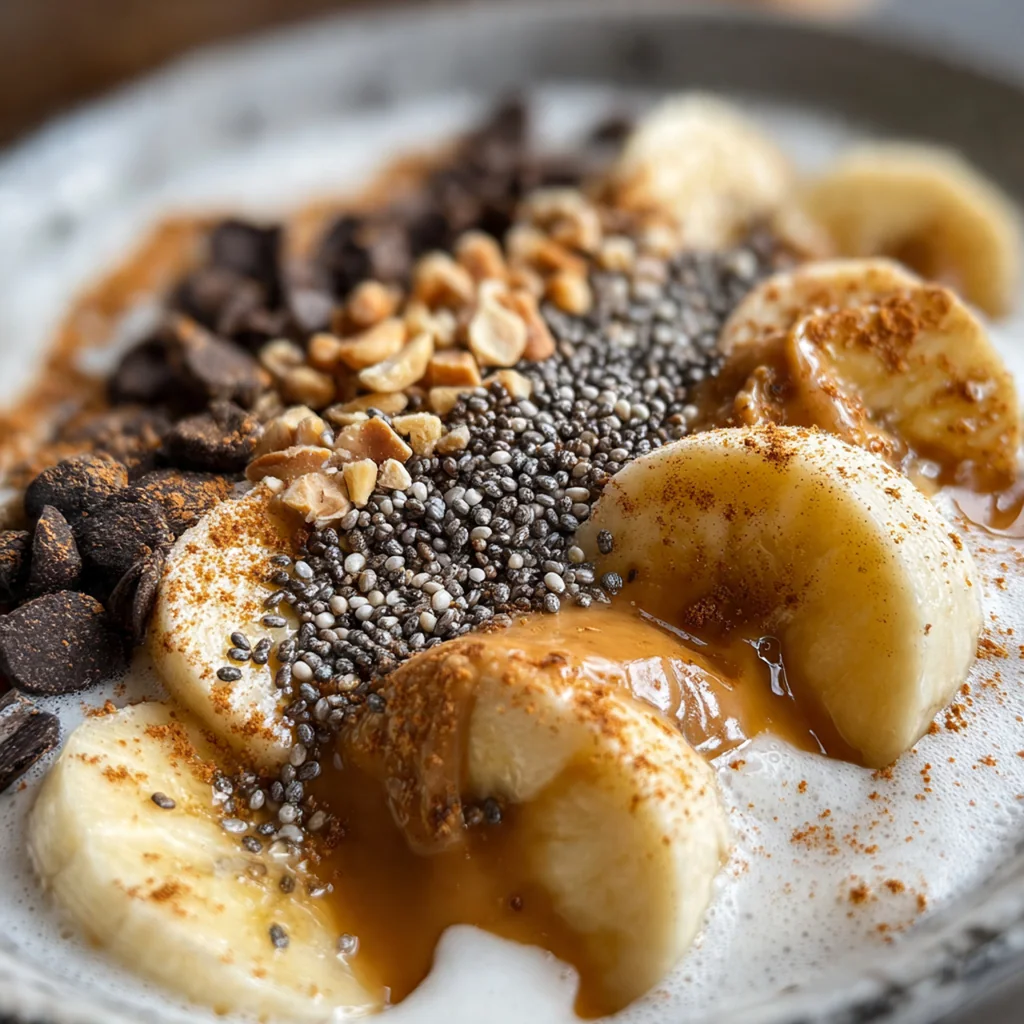
- Optional chocolate shavings: Extra chocolate never hurts, use a vegetable peeler on a chocolate bar
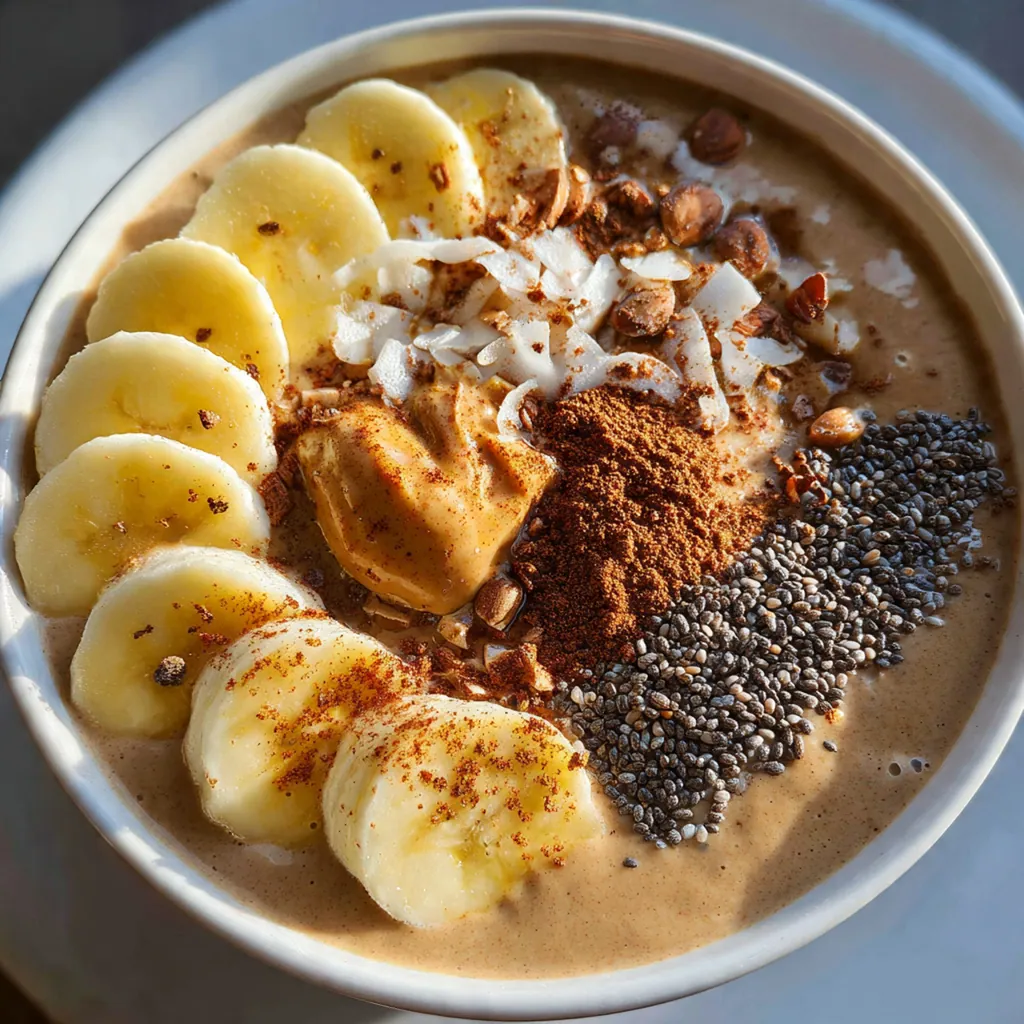
- Optional fresh berries: Adds bright acidity and freshness to cut through the richness
- Optional chopped nuts: Provides satisfying crunch contrast to the smooth pudding texture
How to Make It
Whisk Dry Ingredients Together:
Start by adding the milk, chocolate protein powder, cocoa powder, sugar, cornstarch, and salt to a medium saucepan. You’ll want to whisk vigorously for about 1-2 minutes until absolutely no lumps remain. If you skip this step you’ll be fighting clumps later, so take your time here.
Cook Over Medium Heat:
Place the saucepan on medium heat and keep stirring constantly with a whisk or wooden spoon. You cannot walk away here – the mixture needs your attention as it begins thickening after about 8-10 minutes. I set a timer so I don’t get distracted.
Continue Cooking Until Thick:
Once you see bubbles breaking the surface and the pudding coats the back of your spoon, cook for another 2-3 minutes while stirring continuously. The texture should be thick enough that when you drag your finger across the coated spoon the line holds. Undercooking means runny pudding, but overcooking makes it too firm.
Remove From Heat And Add Finishing Ingredients:
Take the saucepan off the burner immediately. Stir in the vanilla extract, unsalted butter, and heavy cream until everything melts and incorporates into silky smoothness. The residual heat melts everything perfectly while creating that luxurious mouthfeel.
Divide And Cool:
Pour the hot pudding evenly among four serving bowls or ramekins. Let them sit at room temperature for about 10 minutes to cool slightly before covering. This prevents condensation from forming on the plastic wrap later.
Cover And Refrigerate:
Press plastic wrap directly onto the surface of each pudding to prevent that dreaded skin from forming. Refrigerate for at least 2 hours until completely set and chilled through. The pudding firms up more as it chills, so patience pays off here.
Add Optional Toppings:
Before serving, top with whipped cream, chocolate shavings, fresh berries, or chopped nuts depending on your mood. These extras add texture and make the dessert feel special without any extra work. The choice is yours – mix and match to keep things interesting.
You Must Know
- Whey protein gives the absolute creamiest texture but plant-based works well too
- Stir constantly with a whisk to prevent lumps and ensure even cooking throughout
- If your protein powder is extra sweet, cut the sugar down to just 2 tablespoons
- The pudding thickens more as it cools, so don’t overcook it thinking you need more body
- I learned this the hard way during my first batch when I panicked at the initial runny consi…
Storage Tips
Store your protein pudding covered in the refrigerator for up to 5 days, keeping the plastic wrap pressed directly on the surface to prevent any skin from forming. The texture actually improves after the first day as the flavors meld together. I recommend making a double batch since it disappears so quickly in my house. Not recommended for freezing though – the texture gets grainy when thawed and you lose that gorgeous creaminess. If you need to meal prep longer term, portion it into small airtight containers and grab one on your way out the door for an instant snack.
Ingredient Substitutions
For dairy-free pudding, use oat milk or almond milk instead of whole milk, swap in coconut cream for the heavy cream, and use a plant-based protein powder like pea or hemp. If you prefer natural sweeteners, honey or maple syrup work beautifully in place of granulated sugar, just adjust to taste since they add their own flavor. The cornstarch is pretty essential for thickening, but arrowroot powder can substitute in the same amount if you’re out of cornstarch. For flavor variations, try vanilla protein powder with a teaspoon of cinnamon instead of chocolate, or add a tablespoon of espresso powder to make a mocha version that tastes incredibly sophisticated.
Serving Suggestions
This pudding shines straight from the fridge with a simple dollop of whipped cream and fresh raspberries, but you can also turn it into dessert parfaits by layering it with granola and sliced bananas in a clear glass. For a more elegant presentation, serve it in small mason jars topped with shaved dark chocolate and a mint leaf for color contrast. I love using it as a filling for chocolate crepes on special occasions, or scooping it into cone bowls for an ice cream vibe without the sugar crash. It also pairs wonderfully with strong black coffee – the chocolate notes come alive and the bitterness balances the sweetness perfectly.
Cultural Context
This protein pudding represents the modern American approach to healthier desserts, blending traditional comfort food memories with contemporary nutrition needs. While classic chocolate pudding has been a staple in American households for generations, adding protein powder transforms it into a functional food that serves multiple purposes in our busy lives. The technique borrows from traditional stovetop pudding methods – creating a slurry, thickening carefully, finishing with cream and butter – but adapts it for today’s ingredients and health-conscious mindset. It’s part of a broader trend where we’re reimagining nostalgic treats to fit active lifestyles without sacrificing the indulgent experience that makes dessert special.
Pro Tips
- Use whey protein powder for the smoothest texture, though plant-based versions work when tha…
- Whisk constantly during cooking to prevent any lumps from forming – a whisk works better tha…
- If your protein powder is very sweet, reduce the sugar to 2 tablespoons to avoid cloying swe…
- For an even richer pudding, use all whole milk instead of reducing the fat content anywhere
- The pudding will continue thickening as it cools, so don’t overcook it thinking you need mor…
- I always check my spoon’s coat before turning off the heat – it should leave a clear trail.
Frequently Asked Questions
Yes! You can definitely use a plant-based protein powder for this Protein Pudding Creamy Delicious. The recipe calls for 1/2 cup of chocolate protein powder, and both whey and plant-based options work well. Just ensure you whisk constantly while cooking to prevent any clumping with plant-based powders.
You’ll know your Protein Pudding Creamy Delicious is ready when the mixture thickens noticeably and coats the back of a spoon. It usually takes about 20 minutes of cooking over medium heat. If you draw a line through the coating on the spoon, the line should hold its shape.
Absolutely. This pudding is perfect for meal prep. Once cooled, transfer the Protein Pudding Creamy Delicious into airtight containers and store it in the refrigerator. It will keep well for up to 3-4 days. The texture often improves as it chills.
Yes, you have options here. The recipe suggests granulated sugar or honey. You can swap the 1/3 cup of sugar for honey, maple syrup, or a sugar-free alternative like erythritol or monk fruit sweetener to lower the calorie count further.
This American-style dessert is delicious on its own, but it pairs wonderfully with fresh berries, a dollop of whipped cream, or a sprinkle of shaved dark chocolate. It’s a versatile base that suits any occasion.