


Your quest for the ultimate easy fall dessert ends with this sheet pan caramel apple recipe. It captures everything you adore about a classic caramel apple and the cozy comfort of apple pie, all on a single pan for minimal cleanup. This American-inspired treat transforms simple ingredients into a warm, buttery, cinnamon-spiced wonder in under thirty minutes. I love how the aroma fills the kitchen, promising a dessert that’s as simple to make as it is rewarding to eat.
Why You'll Love This Recipe
- One pan means you have almost no dishes to wash afterward
- The homemade caramel sauce tastes rich and decadent with just pantry staples
- It’s ready to serve in under thirty minutes from start to finish
- You get a versatile dessert that’s perfect over ice cream or even yogurt
- The smell of apples and cinnamon baking is pure autumn magic
Ingredients You’ll Need
- Large, firm apples like Honeycrisp or Granny Smith: Choose apples that hold their shape when baked to avoid a mushy texture, offering either a sweet-tart or crisp-tender bite.
- Unsalted butter: Melted butter forms the rich, silky base of your caramel glaze and lets you control the salt level perfectly.
- Packed light brown sugar: This sugar brings deep molasses notes and that classic caramel flavor while helping the sauce thicken beautifully.
- Pure maple syrup: Use the real stuff for a nuanced sweetness and depth that artificial syrup just can’t replicate.
- All-purpose flour: A little bit acts as a crucial thickener for the sauce, ensuring it clings to the apples instead of running off.
- Ground cinnamon: This warm spice is non-negotiable for that iconic apple pie flavor profile we all crave.
- Ground nutmeg: A hint adds a subtle, aromatic warmth that complements the cinnamon without overpowering the apples.
- Fine sea salt: Balances all the sweetness and makes the caramel flavor pop right off the pan.
- Pure vanilla extract: Stirred in at the end, it adds a layer of fragrant, round flavor to the finished sauce.
How to Make It
Preheat and Prepare Your Pan:
Start by heating your oven to 400°F and lining a large, rimmed sheet pan with parchment paper. This setup guarantees easy release and the simplest cleanup imaginable, so you can focus on the fun part.
Whisk Together the Caramel Sauce:
In a large bowl, combine the melted butter, brown sugar, maple syrup, flour, cinnamon, nutmeg, and salt. Whisk until it’s completely smooth and thickened slightly, then stir in the vanilla. You’re building the flavor foundation right here.
Coat the Apple Wedges:
Add your cored and sliced apple wedges directly into the bowl with the sauce. Use a rubber spatula to gently fold and toss until every single piece is glistening and evenly coated. Take your time here for maximum flavor in every bite.
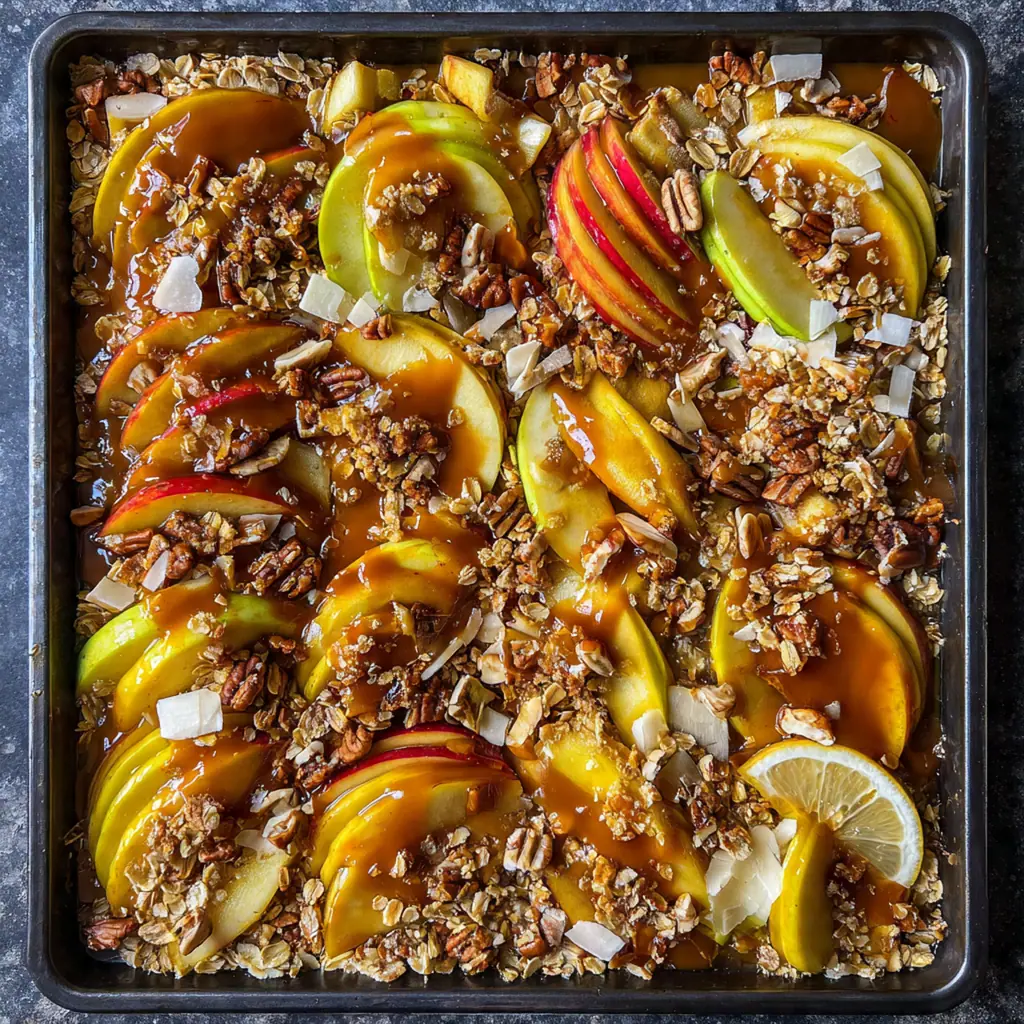
Arrange on the Sheet Pan:
Transfer the apples to your prepared pan, spreading them into a single layer with a little space between each wedge. Drizzle any remaining sauce from the bowl right over the top. This spacing lets them roast instead of steam.
Bake to Caramelized Perfection:
Slide the pan into the hot oven and bake for 18 to 22 minutes. You’ll know they’re done when the apples are tender when pierced with a fork and the sauce is bubbly and thickened at the edges. A quick stir halfway through helps them caramelize evenly.
Let the Glaze Set:
Pull the pan from the oven and let it sit for about five minutes. This short rest is key as the intense heat subsides and that bubbly sauce transforms into a perfect, sticky glaze that clings to each apple wedge.
Serve Warm and Customize:
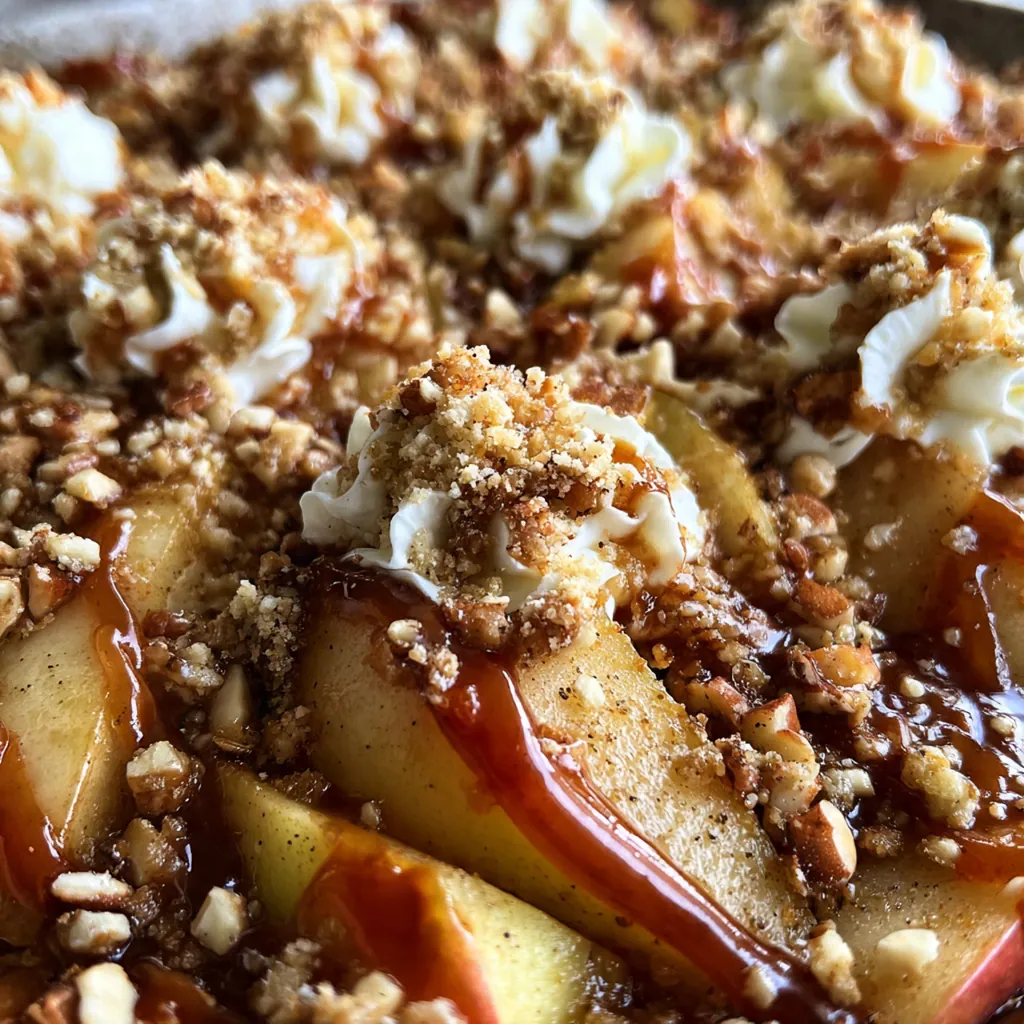
Spoon the warm sheet pan caramel apples straight from the pan into bowls. This is your moment to get creative with a scoop of cold ice cream, a sprinkle of flaky salt, or a handful of crunchy nuts for contrast.
You Must Know
- Use firm apples so they keep some texture and don’t turn to mush
- That tablespoon of flour is essential for a thick, clingy caramel sauce
- Give the apples space on the pan for proper roasting and caramelization
- Letting them cool for five minutes lets the sauce reach the ideal consistency
- I always double the batch because it disappears so fast
Storage Tips
If you somehow have leftovers, let them cool completely before transferring to an airtight container. They’ll keep in the fridge for up to three days. When you’re ready for more, reheat them gently in the microwave or a 300°F oven until just warm. The sauce might look a little separated after chilling, but a good stir will bring it right back to its glossy, delicious state. I find they’re best within the first day or two.
Ingredient Substitutions
If you’re out of maple syrup, you can use an equal amount of honey or even dark corn syrup, though the flavor profile will shift a bit. For a deeper, more molasses-forward caramel, swap half the light brown sugar for dark brown sugar. If you need it gluten-free, a reliable one-to-one gluten-free flour blend works perfectly in place of the all-purpose. For a dairy-free version, your favorite plant-based butter will do the trick just fine. Don’t have nutmeg? A pinch of allspice or even a extra dash of cinnamon can stand in.
Serving Suggestions
This dish is truly best served warm, and for me, a scoop of really good vanilla ice cream melting into the caramel is absolutely non-negotiable. For a fun textural twist, try crumbling some gingersnap cookies or shortbread over the top right before serving. If you’re feeling breakfasty, spoon the warm apples over thick Greek yogurt or oatmeal. And for a simple, elegant finish, just a light drizzle of extra maple syrup and that pinch of flaky salt makes everything shine.
Cultural Context
This recipe is a wonderfully simplified, modern take on classic American fall traditions. It pulls the gooey, sweet joy of a state fair caramel apple and merges it with the spiced, comforting heart of a homemade apple pie, all while embracing the contemporary desire for minimal cleanup and quick results. The sheet pan method itself speaks to today’s cooking style, where maximizing flavor while minimizing effort is the ultimate goal. It’s a dessert that feels both nostalgic and perfectly suited for a busy weeknight, celebrating the apple in its most straightforward and satisfying form.
Pro Tips
- Pat your apple wedges dry before tossing to help the sauce stick better
- Don’t crowd the pan or the apples will steam instead of caramelize
- Taste your apple variety first to gauge its sweetness and adjust your anticipation
- Let the baked apples sit for five minutes so the sauce can thicken up perfectly
- I always add the flaky salt – it makes the caramel flavor sing
Frequently Asked Questions
Firm, tart apples like Granny Smith hold their shape well during roasting and balance the sweet caramel. For a sweeter result, Honeycrisp or Fuji apples are excellent choices. Avoid very soft varieties that may become mushy.
Yes, you can prep it up to a day ahead. Toss the apple wedges in the caramel glaze and store them covered in the refrigerator. Spread them on the sheet pan and bake when ready, adding a minute or two to the cook time since they’ll be cold.
You can use an equal amount of dark corn syrup, honey, or even golden syrup. The maple syrup adds a distinct flavor, so substitutes will alter the taste slightly but still yield a delicious caramel coating.
The apples are done when they are fork-tender and the caramel glaze is bubbling and has thickened slightly around the edges, about 18-22 minutes. The apples should be soft but not falling apart.
Serve it warm with a scoop of vanilla ice cream or a dollop of whipped cream. It’s also delicious with a sprinkle of chopped pecans or a drizzle of extra caramel sauce for an even more decadent American dessert.