

This classic strawberry rhubarb pie is the ultimate celebration of spring’s sweet and tart bounty. The perfect marriage of juicy strawberries and bright rhubarb creates a bubbling filling that tastes like sunshine in every bite. Nestled in a flaky, buttery homemade crust, this strawberry rhubarb pie has been a staple in my kitchen for years. It’s the dessert that always disappears first at family gatherings, reminding me of my grandmother’s kitchen where the recipe first came to life.
Why You'll Love This Recipe
- The sweet strawberries perfectly balance the tart rhubarb for an addictive flavor contrast
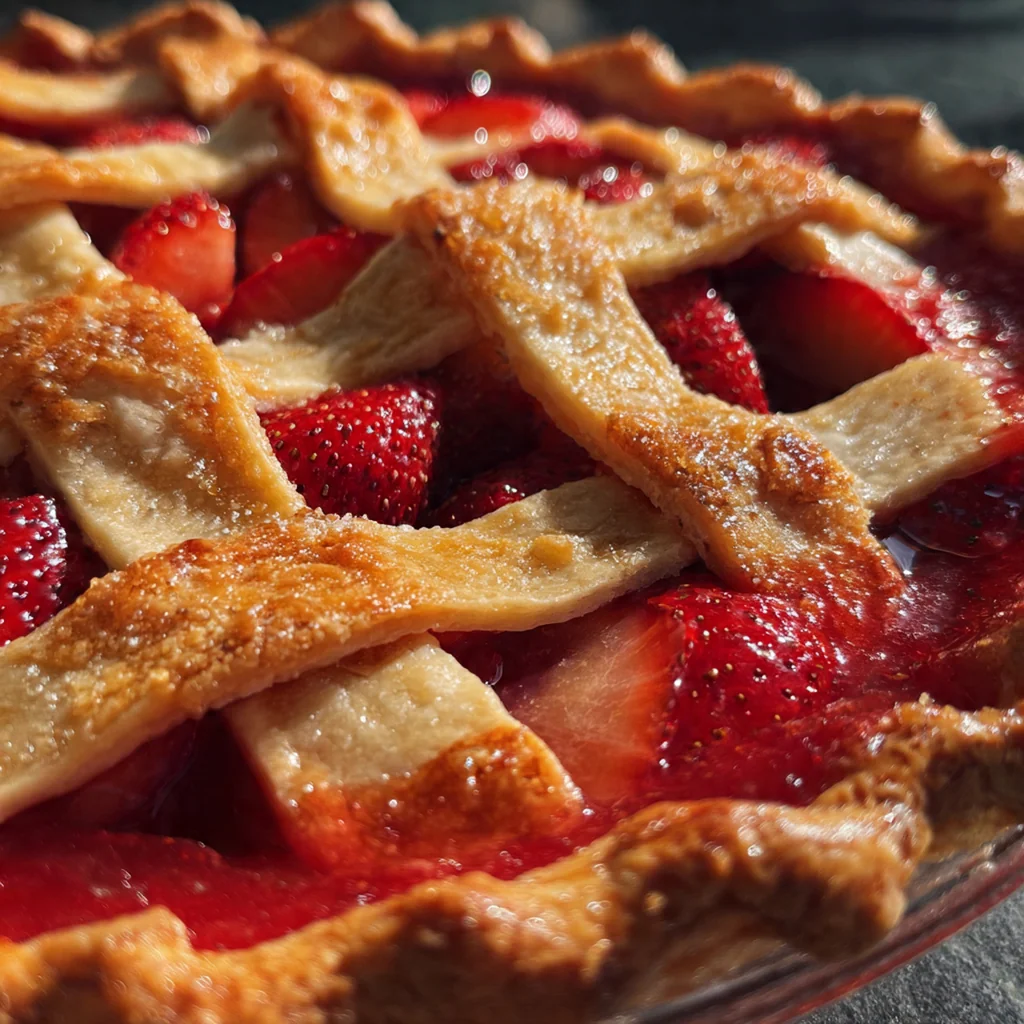
- That homemade flaky crust makes all the difference compared to store-bought versions
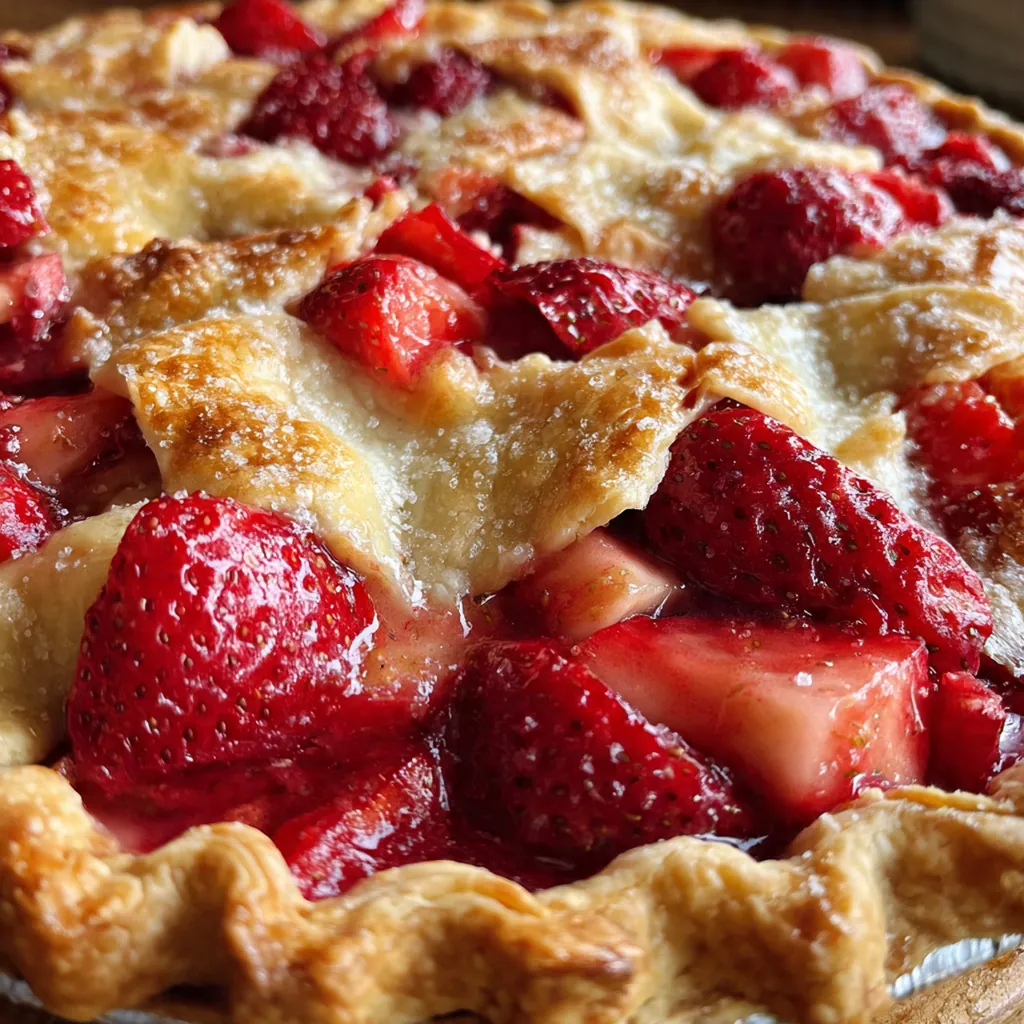
- The golden, sugar-dusted top looks stunning when it comes out of the oven
- It makes wonderful use of fresh spring produce at its peak
- It’s an excellent make-ahead dessert that actually tastes even better the next day
- I love serving this warm from the oven with melting ice cream on top
Ingredients You’ll Need
- All-purpose flour: The backbone of the pie crust, providing structure and tenderness. Choose a quality brand for the best results.
- Salt: Enhances all the flavors in both the crust and the filling, creating a well-rounded taste.
- Granulated sugar: Sweetens the filling and the crust, helping the fruit juices thicken beautifully.
- Cold unsalted butter: Creates those essential flaky layers in the crust by forming pockets of steam. It must be very cold to work properly.
- Ice water: Binds the dough together without activating too much gluten, which keeps the crust tender and flaky.
- Fresh rhubarb: Provides the signature tartness and texture for the pie. Look for firm, bright pink stalks.
- Fresh strawberries: Add natural sweetness and a beautiful color to the filling. Choose ripe, red berries for the best flavor.
- Light brown sugar: Adds a deeper, molasses-like sweetness and helps the filling caramelize.
- Cornstarch: The thickener that ensures your pie filling isn’t runny. It creates a glossy, smooth texture.
- Fresh lemon juice: Brightens the fruit flavors and helps balance the sweetness in the pie.
- Vanilla extract: Adds a warm, aromatic background note that complements both the strawberries and rhubarb.
- Large egg: Used for the egg wash, which gives the crust a beautiful golden shine and color.
- Coarse sugar: The finishing touch that adds a delightful crunch and sparkle to the top crust.
- Optional Vanilla ice cream: The classic warm contrast to a slice of hot pie, melting into every crevice.
- Optional Whipped cream: A light, airy topping that complements the rich, fruity filling.
How to Make It
Make The Dough:
In a large bowl, whisk together the flour, salt, and sugar. Cut in the cold butter using a pastry blender or your fingertips until the mixture resembles coarse crumbs with some pea-sized butter pieces remaining. This texture is key to a flaky crust.
Add Ice Water And Chill:
Add the ice water one tablespoon at a time, mixing gently with a fork until the dough just begins to hold together when pressed. Divide the dough into two equal discs, wrap each in plastic, and chill for at least 30 minutes. Chilling relaxes the gluten and keeps the butter cold.
Prep The Oven And Filling:
Preheat your oven to 400°F. In a large bowl, toss the rhubarb and strawberries with the granulated sugar, brown sugar, cornstarch, lemon juice, and vanilla extract. Let the mixture stand for about 10 minutes. This allows the fruit to release its natural juices before baking.
Roll Out The Bottom Crust:
Roll out one dough disc on a lightly floured surface into a 12-inch circle. Carefully transfer it to a 9-inch pie dish, letting the excess hang over the edge. Trim the edges so you have about a 1-inch overhang. This gives you enough dough to create a beautiful crimped seal.
Assemble The Pie:
Pour the fruit filling into the bottom crust, spreading it evenly. If you like extra richness, dot the filling with a couple tablespoons of cold butter pieces. Roll out the second dough disc and place it over the filling. Trim the edges, then fold the top crust under the bottom crust and crimp the edges to seal everything tightly.
Vent And Finish The Top:
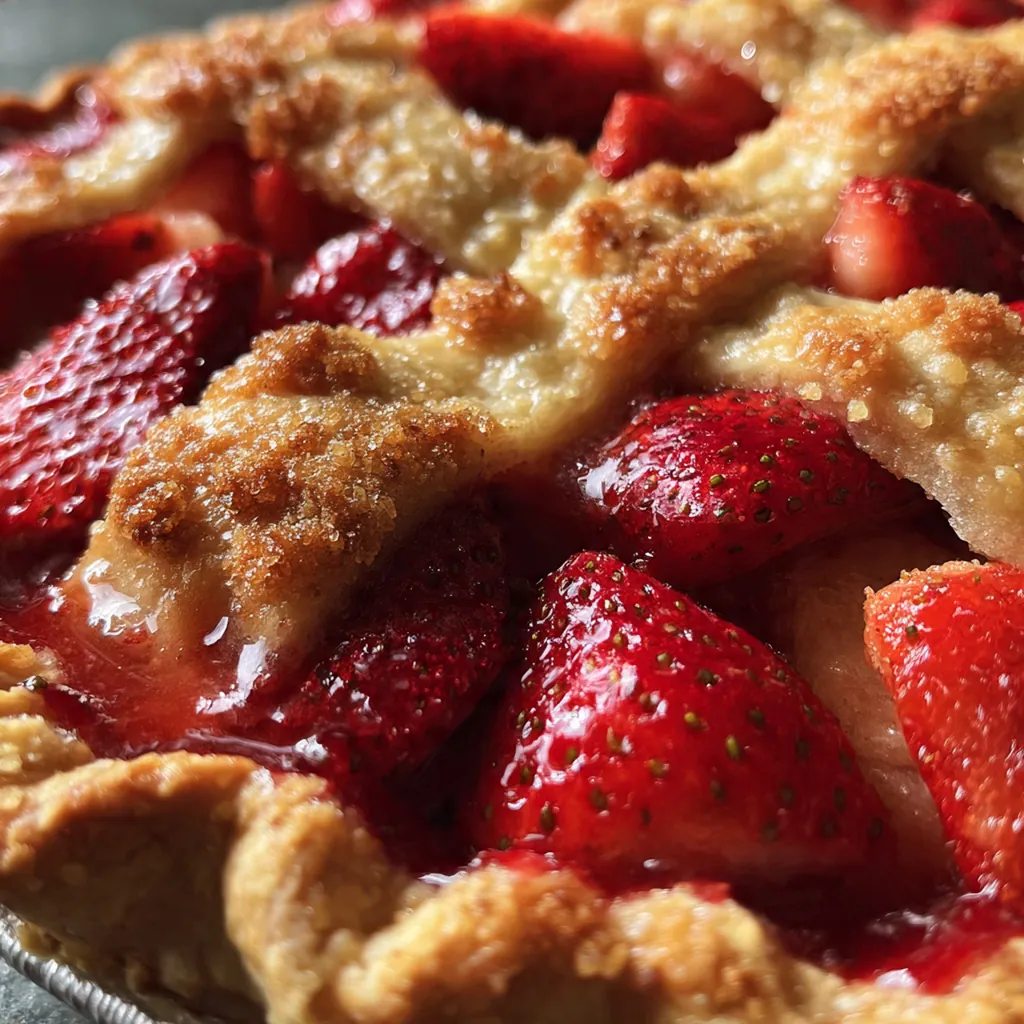
Cut 4-5 slits in the top crust with a sharp knife. This allows steam to escape during baking so your pie doesn’t bubble over. Brush the entire top crust with the beaten egg, then sprinkle generously with coarse sugar. This egg wash is what gives you that gorgeous, shiny golden finish.
Bake To Perfection:
Place the pie on a baking sheet to catch any drips. Bake at 400°F for 20 minutes, then reduce the temperature to 375°F and continue baking for 35-40 minutes. You’ll know it’s done when the crust is deep golden brown and the filling is bubbling through the slits.
Cool And Set:
Transfer the pie to a wire rack and let it cool for at least 2 hours before slicing. This resting time is crucial for the filling to set properly. Cutting into a hot pie will result in a runny slice.
Serve And Enjoy:
Slice and serve the pie warm or at room temperature. For the ultimate experience, add a scoop of vanilla ice cream or a dollop of whipped cream. The contrast of warm pie and cold cream is absolutely heavenly.
You Must Know
- Keep all your ingredients very cold when making the pastry dough for maximum flakiness.
- If the edges brown too quickly, cover them with a pie shield or strips of aluminum foil.
- Place a baking sheet on the rack below the pie to catch any bubbling over from the filling.
- Let the pie cool completely—cutting too soon will result in a runny filling.
- Freeze leftover butter pieces for future pie making so you always have cold butter ready.
- That golden crust with coarse sugar makes the whole dessert look incredibly tempting.
Storage Tips
Store your leftover pie covered at room temperature for up to 2 days or in the refrigerator for up to 4 days. When you’re ready to enjoy another slice, reheat individual portions in a 300°F oven for 10-15 minutes to re-crisp the crust beautifully. If you want to get ahead, the unbaked pie freezes wonderfully for up to 3 months—just bake it from frozen, adding an extra 15-20 minutes to the total baking time. I love having a frozen pie ready for unexpected guests or a sudden craving.
Ingredient Substitutions
If you can’t find fresh rhubarb, you can use frozen—just don’t thaw it first. For the flour, a good quality 1:1 gluten-free baking blend works well, though the texture will be slightly different. When butter isn’t an option, vegan butter sticks designed for baking create a comparable flaky crust. For the filling, you can adjust the sugar based on your fruit’s sweetness, using a bit more if your strawberries are tart or a bit less if they’re very ripe. Cornstarch is ideal for thickening, but arrowroot or tapioca flour can work in a pinch if you’re out.
Serving Suggestions
My absolute favorite way to serve this pie is still warm from the oven with a generous scoop of vanilla ice cream melting into every slice. For a lighter option, a dollop of freshly whipped cream sweetened just a tiny bit lets the tart fruit flavors shine. I sometimes serve slices with a drizzle of caramel sauce for an extra decadent touch. For a beverage pairing, I find strong black coffee or a cup of earl grey tea cuts through the sweetness perfectly and makes the whole experience feel like a special occasion.
Cultural Context
This strawberry rhubarb pie is a true American classic, born from the marriage of European pastry techniques with North American ingredients. Rhubarb, often called the ‘pie plant,’ was brought to North America by early European settlers, while strawberries are native to the continent. The combination became especially popular in the late 19th and early 20th centuries as home baking grew in popularity. It’s particularly cherished in the Northeast and Midwest, where rhubarb thrives in the cool spring climate. For me, this pie represents the essence of late spring and early summer—making it feels like a cherished ritual that connects the kitchen to the seasons outside my window.
Pro Tips
- Always keep your butter and water ice-cold for that perfect flaky texture.
- If your crust edges brown too fast, use a pie shield or foil strips to protect them.
- Place a baking sheet on the rack below to catch any bubbling filling.
- Let the pie cool completely—cutting too early makes the filling runny.
- Freeze extra butter pieces so you always have cold butter ready for baking.
- I never rush the cooling step; it makes all the difference in the final slice.
Frequently Asked Questions
A runny filling usually means the fruit wasn’t thickened enough or the pie wasn’t cooled completely. We use 3 tablespoons of cornstarch in this Strawberry Rhubarb Pie to absorb excess juices as the fruit bubbles. Let the pie cool for at least 4 hours before slicing to allow the filling to set properly.
Yes! You can prepare the dough up to 3 days in advance and store it in the refrigerator. For best results, assemble and bake the Strawberry Rhubarb Pie fresh. If you must bake ahead, store it at room temperature for up to 2 days, loosely covered with foil. Reheat slices in the oven for that fresh-baked texture.
Rhubarb provides a signature tartness that balances the sugar in this Strawberry Rhubarb Pie. If unavailable, you can substitute with sour cherries or increase the strawberries to 8 cups and add an extra tablespoon of lemon juice. Note that the flavor profile will change, lacking that classic tart bite rhubarb is known for.
Your Strawberry Rhubarb Pie is ready when the crust is a deep golden brown and the filling is actively bubbling through the vents. The bubbling is crucial—it indicates the cornstarch has activated and the filling is thickened. The internal temperature should reach roughly 200°F (93°C).
As a classic American dessert, this pie is delicious on its own, but it pairs wonderfully with cold dairy. A scoop of vanilla bean ice cream melts into the warm filling, or a dollop of fresh whipped cream adds lightness. For a rich contrast, try a slice of sharp cheddar cheese on the side—a traditional New England pairing.